Why Storage Matters for Freshness
If you want to know how to store baked goods, it helps to start with what makes them lose freshness in the first place. Most baked treats change for one of three reasons: they dry out, they trap too much moisture, or they absorb odors and outside air. The right storage method slows those changes and helps preserve texture, flavor, and appearance.
Different baked goods age in different ways. A crusty loaf can go stale quickly if left exposed, while soft cookies may turn dry or hard in a container that is too loose. Frosted cakes can lose moisture at the cut edges, and bars can become sticky if sealed before they cool fully. Storage is not only about keeping food covered. It is about matching the container, location, and timing to the type of baked item you made.
For family kitchens, good storage also helps reduce waste. If a batch of muffins or cookies stays pleasant for an extra day or two, you have more flexibility for snacks, lunches, and after-school treats. That is especially useful when you bake in larger batches or want to prep ahead for the week.
Cool Baked Goods Completely Before Storing
One of the most important steps in how to store baked goods is to let them cool completely before packing them away. Warm baked items release steam, and that moisture can collect inside a container. Instead of staying soft in a good way, the food may turn soggy, sticky, or unevenly textured.
Set baked goods on a wire rack whenever possible so air can move around them. Cakes, breads, and muffins should feel fully cooled to the touch before they are wrapped or boxed. If you are in a hurry, slice large loaves or cakes only after they are cool enough to handle cleanly, since cutting too early can release more steam and tear the structure.
Some items need a little more patience than others. Dense breads may seem ready on the outside while still holding warmth inside. Frosted cakes should be cooled fully before any covering goes on, or the frosting can soften and slide. Letting baked goods rest before storage is a simple habit, but it makes a noticeable difference in how they keep.
Choose the Right Container for Each Type
The container you choose matters as much as the recipe. Airtight containers are useful for many baked goods because they limit exposure to air, which helps slow staling. That said, not every item belongs in the same kind of box or bag. The goal is to protect the texture without trapping excess moisture.
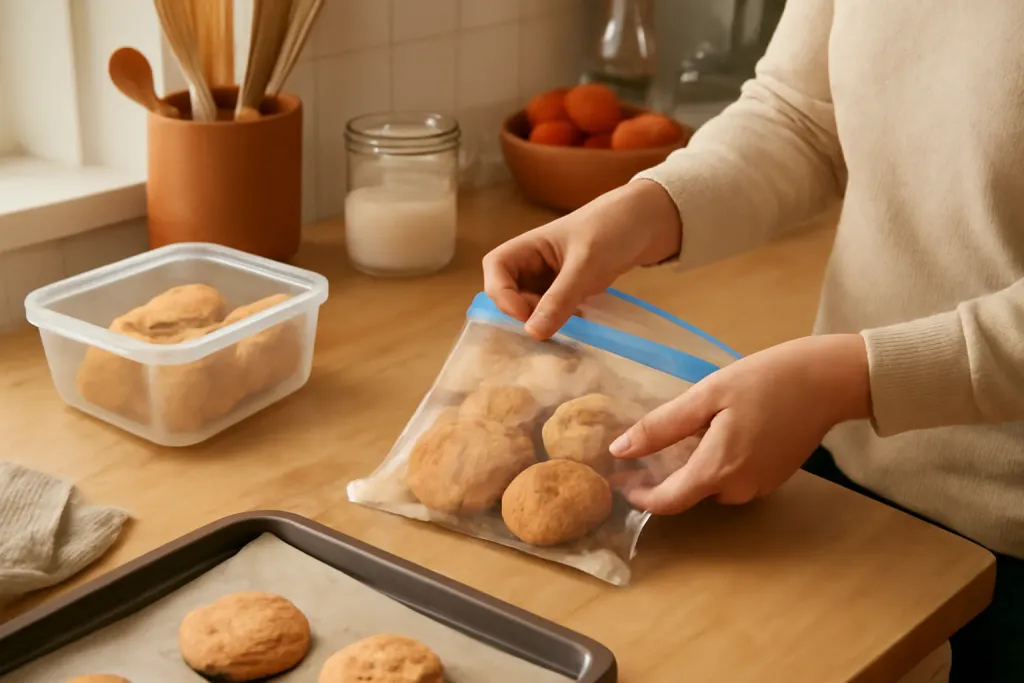
For cookies, brownies, quick breads, and unfrosted cakes, a snug-lidded container or resealable bag often works well. If the item is delicate, place parchment paper between layers to keep them from sticking together. For crusty bread, a paper bag or bread box can sometimes be better than a fully airtight container, because it helps preserve the crust without turning it rubbery.
Glass containers, plastic containers, and reusable storage boxes can all be helpful if they seal well and fit the amount of food you have. Oversized containers are less ideal because too much empty space allows more air exposure. Smaller containers or a wrap plus box combination can be a practical choice for families storing a few pieces at a time.
If you are buying kitchen storage for frequent baking, look for containers that are easy to clean, stack neatly, and close securely. Simple features can make it easier to stick with a routine and keep baked items organized in the pantry or fridge.
How to Store Bread, Rolls, and Other Yeast Bakes
Fresh bread is one of the trickiest categories when learning how to store baked goods. Bread often stales faster in the refrigerator than at room temperature, so a cool pantry or countertop is usually a better short-term option. Keep it wrapped or enclosed so the crust does not dry out too quickly.
For artisan loaves with a crisp crust, a bread box or paper wrap can help maintain texture. For sandwich bread, rolls, and soft buns, a sealed bag or container usually keeps the interior softer for longer. If the loaf is sliced, try to press out extra air before closing the bag.
If you do not plan to finish bread within a day or two, freezing is often the better route. Slice the loaf first, then wrap it well and freeze portions you can use later. That way, you can thaw only what you need instead of letting the entire loaf sit out and lose quality. Rolls and buns also freeze well when wrapped carefully and packed in usable portions.
When reheating bread, a light warming can improve the eating experience, but storage still begins with proper wrapping and prompt cooling. Avoid leaving bread open on the counter for long stretches, especially in a busy kitchen where air circulation can dry it quickly.
Browse our recommended picks
Our featured picks refresh periodically. While we update them, our editorial guides can help you find the right one.
See our guidesStoring Cookies, Bars, Muffins, and Quick Breads
Cookies, bars, muffins, and quick breads are among the easiest baked goods to store, but the details still matter. Soft cookies do best in a sealed container with enough room to avoid crushing. Crisp cookies need a different approach, since sealing them too tightly can soften their texture. If you want to keep crisp cookies crisp, store them with minimal moisture and close the container promptly after serving.
Bars and brownies are usually happiest in a covered container with parchment between layers if they are stacked. This helps prevent sticking and keeps the top layer from being damaged. For frosted brownies or bars with sticky toppings, single layers may be the best option until they are firm enough to stack safely.
Muffins and quick breads can be stored at room temperature for a short period if they are cooled fully and covered well. Line the container with paper towels if you want to catch a little surface moisture, especially for tender bakes. If the muffins include fruit, glaze, or a very moist crumb, a tighter container may help them hold up better without drying out.
Because these items are often baked for lunches, snacks, and school-day routines, portion-friendly containers can be very useful. Storing them in small groups makes it easier to grab just what you need and keep the rest sealed until later.
How to Keep Cakes and Frosted Bakes Looking Their Best
Cakes need careful handling because both moisture and decoration matter. If a cake is unfrosted, it can often be stored in a covered container or wrapped tightly once fully cooled. A frosted cake is more delicate, especially if the frosting is soft or the decorations are detailed. In many cases, a cake carrier or tall container is helpful because it protects the surface without flattening the finish.
When learning how to store baked goods with frosting, try to keep the cake in a space where it will not be bumped or exposed to strong odors. If the cake has cut edges, cover the exposed sections if possible so the crumb does not dry out. You can also press a piece of plastic wrap gently against the cut side for short-term storage, taking care not to disturb the frosting.
Layer cakes can be stored in sections if necessary, but it is usually easier to keep them assembled in a proper container. For cakes with cream-based fillings or very soft frostings, refrigeration may be appropriate depending on the recipe, though cold storage can affect texture. Since recipes vary, follow the specific instructions for the cake you made and use a container that protects it from drying or damage.
Sheet cakes, loaf cakes, and bundt cakes each benefit from a slightly different setup. The common goal is the same: keep air out, avoid crushing the top, and prevent the cake from sitting in condensation.
When Freezing Is the Better Option
If you want baked goods to last beyond a few days, freezing is often the most practical solution. This is especially useful for bread, muffins, cookies, and cake layers that you want to save for later. Freezing does not keep food identical to freshly baked, but it can preserve quality far better than leaving items out too long.
Before freezing, cool the baked goods fully and wrap them well. Many home bakers use a combination of plastic wrap and a freezer-safe bag or container to reduce freezer exposure. Removing as much air as possible helps protect texture and flavor. For easier use later, freeze items in portions so you can thaw only what you need.
Cookies can be frozen as dough or after baking, depending on your routine. Breads can be sliced first so individual servings are simple to thaw. Cakes can sometimes be frozen as layers, which can be handy if you want to decorate later. Labeling packages with the item name and date is a useful habit for any busy kitchen, especially when several baked goods are in the freezer at once.
When thawing, give the food time to come back to room temperature in its wrapping if possible. That can help reduce condensation on the surface. For best results, freeze only what you are likely to use and keep the packaging as tight as practical.
Simple Habits That Help Baked Goods Stay Fresh
Good storage is not only about containers. A few small habits can help baked goods stay fresh longer and make your kitchen feel more organized. First, store items by type. Keeping bread, cookies, and cakes separate helps prevent textures and aromas from mixing. A strongly scented loaf or a heavily spiced cookie can affect nearby foods if they are all packed together.
Second, handle baked goods with clean, dry hands and clean utensils. Extra moisture or crumbs inside a container can shorten the life of the rest of the batch. Third, avoid storing warm food in a sealed container too soon, since trapped steam is one of the fastest ways to ruin texture.
It also helps to think ahead about how your family actually eats. If snacks are usually taken one or two at a time, store them in smaller portions. If breakfast bread is used daily, keep the day’s portion accessible and freeze the rest. A little planning makes it easier to answer the question of how to store baked goods in a way that fits real life rather than a perfect recipe card.
For most home kitchens, the best approach is simple: cool completely, choose the right container, store by type, and freeze what will not be eaten soon. Those steps go a long way toward keeping homemade treats enjoyable for longer.